目录
Spring Boot 手摸手系列-hello word
目录
开发之前说明几点:
安装 jdk 、 maven 、eclipse 以及相对应的开发环境;具体配置自定百度。
特别说的几点:
maven setting.xml 中 进行一些设置;告诉maven 使用jdk 版本。
<profile>
    <id>jdk-1.8</id>
    <activation>
        <activeByDefault>true</activeByDefault>
        <jdk>1.8</jdk>
    </activation>
    <properties>
        <maven.compiler.source>1.8</maven.compiler.source>
        <maven.compiler.target>1.8</maven.compiler.target>
        <maven.compiler.compilerVersion>1.8</maven.compiler.compilerVersion>
    </properties>
</profile>
设定eclipse中maven 配置
windows - > preference - > maven
installations 设置已安装的 maven 路径
User Settings 设置 maven settings.xml 配置;eclipse 会自动读取文件,设置maven 拉取jar包存储仓库
基本配置说完,下面开干了;
- 创建一个maven项目
根据eclipse 自带创建maven项目直接创建,如下图:
- 导入springboot 依赖
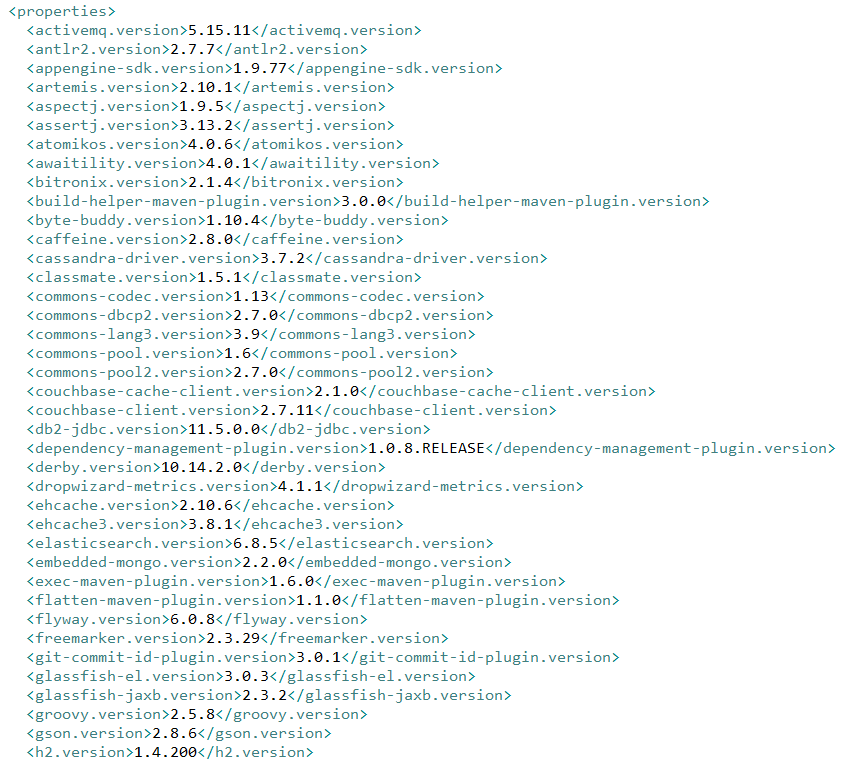
进入spring 官网看下 springboot 创建过程,可以参考 pom文件配置。pom具体配置如下:<project xmlns="http://maven.apache.org/POM/4.0.0" xmlns:xsi="http://www.w3.org/2001/XMLSchema-instance" xsi:schemaLocation="http://maven.apache.org/POM/4.0.0 http://maven.apache.org/xsd/maven-4.0.0.xsd"> <modelVersion>4.0.0</modelVersion> <parent> <groupId>org.springframework.boot</groupId> <artifactId>spring-boot-starter-parent</artifactId> <version>2.2.2.RELEASE</version> <relativePath /> <!-- lookup parent from repository --> </parent> <groupId>com.lin.san</groupId> <artifactId>springboot-helloword</artifactId> <packaging>jar</packaging> <version>0.0.1-SNAPSHOT</version> <properties> <java.version>1.8</java.version> </properties> <dependencies> <dependency> <groupId>org.springframework.boot</groupId> <artifactId>spring-boot-starter-web</artifactId> </dependency> <dependency> <groupId>org.springframework.boot</groupId> <artifactId>spring-boot-starter-test</artifactId> <scope>test</scope> <exclusions> <exclusion> <groupId>org.junit.vintage</groupId> <artifactId>junit-vintage-engine</artifactId> </exclusion> </exclusions> </dependency> </dependencies> <build> <plugins> <!-- maven 编译打包成一个你packaging 期望的包 --> <plugin> <groupId>org.springframework.boot</groupId> <artifactId>spring-boot-maven-plugin</artifactId> </plugin> </plugins> </build> </project> springboot 启动程序
src.main.java 下创建一个 com.lin.san 包
com.lin.san 包下创建一个主程序启动类,StartApplicationpackage com.lin.san; import org.springframework.boot.SpringApplication; import org.springframework.boot.autoconfigure.SpringBootApplication; /** * @SpringBootApplication * 该注解声明 springboot的主程序(启动程序)是谁 * 同时初期你可以简单的认为 @SpringBootApplication = @EnableAutoConfiguration + @ComponentScan(默认扫描该类路径下子包) * @author lin.san * */ @SpringBootApplication public class StartApplication { public static void main(String[] args) { // springboot 应用启动 SpringApplication.run(StartApplication.class, args); } }定义好启动类之后,咱写一个接口,浏览器显示hello word
package com.lin.san.controller;
import org.springframework.web.bind.annotation.GetMapping;
import org.springframework.web.bind.annotation.RestController;
/**
* @RestController 这个注解其实就是 @Controller + @ResponseBody  形成一个restful风格接口
* @author lin.san
*
*/
@RestController
public class HelloWordController {

  @GetMapping(value = "/hello")
  public String hello() {
      return "hello word";
  }
}
运行&测试
设置好方法之后,找到 StartApplication这个启动类 ;
然后run as Java Applicaltion;
springboot 在我们什么配置都没设置的情况下,默认启动一个端口为8080的tomcat。

打成jar 包并运行
通过eclipse maven 插件,我们可以直接将程序打成jar包,操作:项目右键--> 选中run as --> 找到 maven install;点击即可。
你也可以命令行使用命令打包 mvn install 。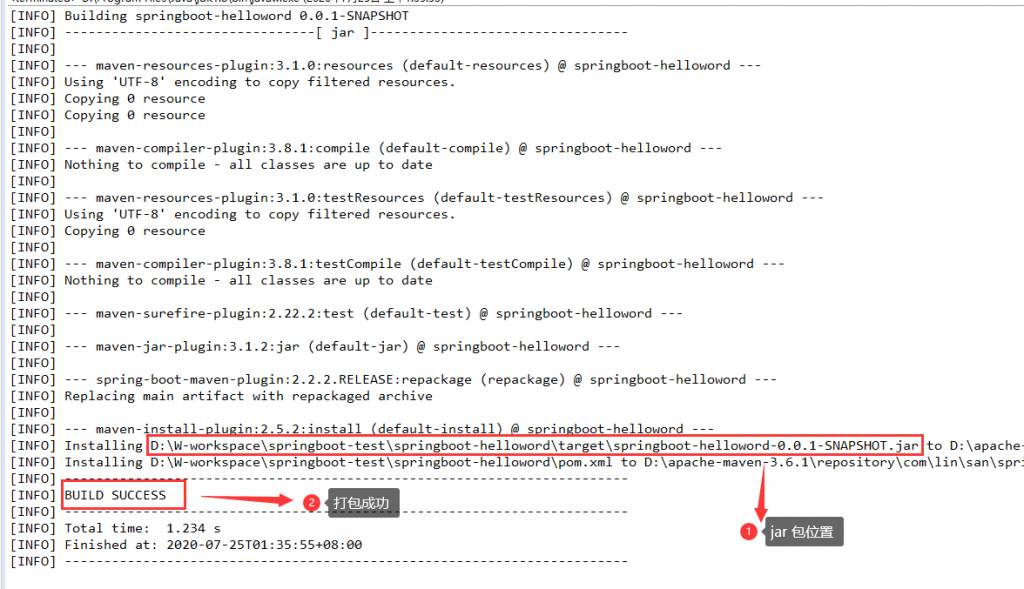
找到jar 包路径,并在命令行中 运行 java -jar <包名>;实际情况如下图所示: